How to Crochet the Fishtail Braid Cord Pattern
In this tutorial from Naztazia, learn how to create the Crochet Fishtail Braid. I have loved the fishtail design since I was a child when my Mom used to do my hair in this style, so it was only a matter of time before I brought that inspiration into my crochet work! This technique creates a solid, durable cord that is perfect for bracelets, keychain holders, and sturdy bag handles.
Materials & Specs
- Skill Level: Easy / Beginner.
- Yarn: Bulky weight or cord-style yarn (worsted also works for smaller projects).
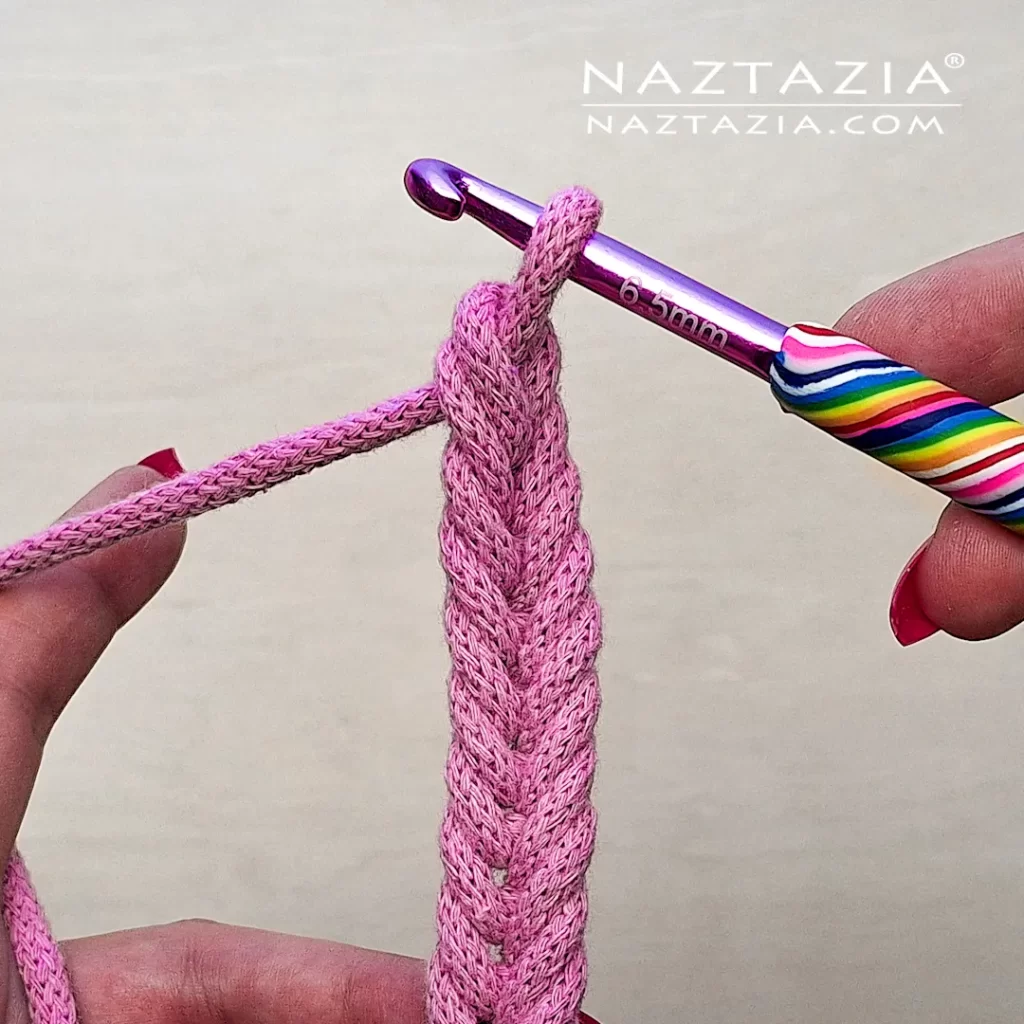
- Hook Size: 6.5 mm hook (or the size recommended on your yarn label).
- Stitches Used: Slip Stitch (sl st) and Chain (ch).
- Technique: Linked Slip Stitch.
YouTube Video Tutorial
Click the play button to watch the video below. And if you like this, be sure to subscribe to my YouTube channel to get notified of new videos!
Technique Profile: Linked Slip Stitch
The secret to the Fishtail Braid Cord is the “Linked Slip Stitch.” Unlike a standard chain, this method involves inserting the hook into the side of the previous stitch before completing the next one. This creates a dense, non-stretchy fabric that mimics a traditional hair braid. It results in a more secure cord that holds its shape, making it ideal for items that need to withstand weight or frequent use, like bag handles or jewelry.
Step-by-Step Instructions
To Begin:
- Start with a Slip Knot and insert your crochet hook.
- Identify your two strands: the shorter tail end and the longer working yarn.
- Insert your hook between the tail end and the working yarn.
- Yarn over and pull through both the tail end loop and the loop already on your hook. This establishes the base of your braid.
The Braid Stitch:
- Insert your hook into the side of the previous stitch.
- Yarn over and pull through both loops on the hook.
- Lifting the crochet hook up slightly after the yarn over helps loosen the stitch, making it much easier to pull through.
- Repeat steps 5 through 7 until your cord reaches the desired length.
Finishing:
- To fasten off, make one final yarn over and pull through.
- Weave in the ends securely using a yarn needle or the crochet hook itself to hide the tails within the back loops of the braid.
Note: Making this for Etsy or a charity event? See my Pattern Usage Guide here.
Share Your Work
Did you make this pattern? I love seeing your color choices!
- Social Media: Tag me @naztazia on Instagram, TikTok, or Facebook so I can share your work!
- Facebook: You can also post your photos directly to the Naztazia Facebook Page.
Facebook Video
If you prefer social media, you can watch this tutorial video on Facebook. And if you like this, be sure to follow my Facebook page to get notified of new videos!
Donna’s Picks of the Week!
As an Amazon Associate, I earn from qualifying purchases.