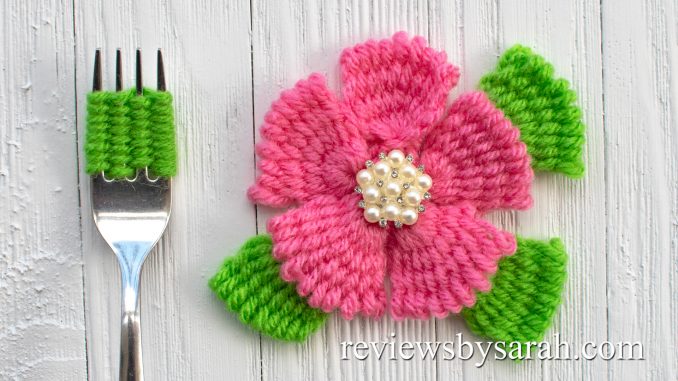
As you may know, my daughter Sarah has a YouTube channel at youtube.com/reviewsbysarah and website at reviewsbysarah.com We both love making things. She tends to like loom knitting and weaving with yarn. I sway more towards crocheting and knitting.
Check out Sarah’s video below on how to make a flower with a fork by using a common weaving technique. You’ll find it’s pretty simple and a great way to make a flower. It’s also nice for those who don’t knit or crochet.
Be sure to pin the following image to your Pinterest board! Then continue reading below.
Here’s a nice image (or two) to pin on your Pinterest boards.
Instructions
Time needed: 30 minutes
You can make these fun flowers like this:
- Gather your yarn.
Sarah is using Red Heart Super Saver for this project. It’s a good solid yarn that comes in so many pretty colors. It especially works wonderfully with these flowers.
- Find a dinner fork.
The size of the petals will vary depending upon the size of your fork. The flowers in the photo and video were done with just a normal dinner fork.
- Gather other supplies.
You’ll need scissors and a yarn needle. Sarah likes the blunt-tipped needles the best. You can use any type of sewing needle you have of course.
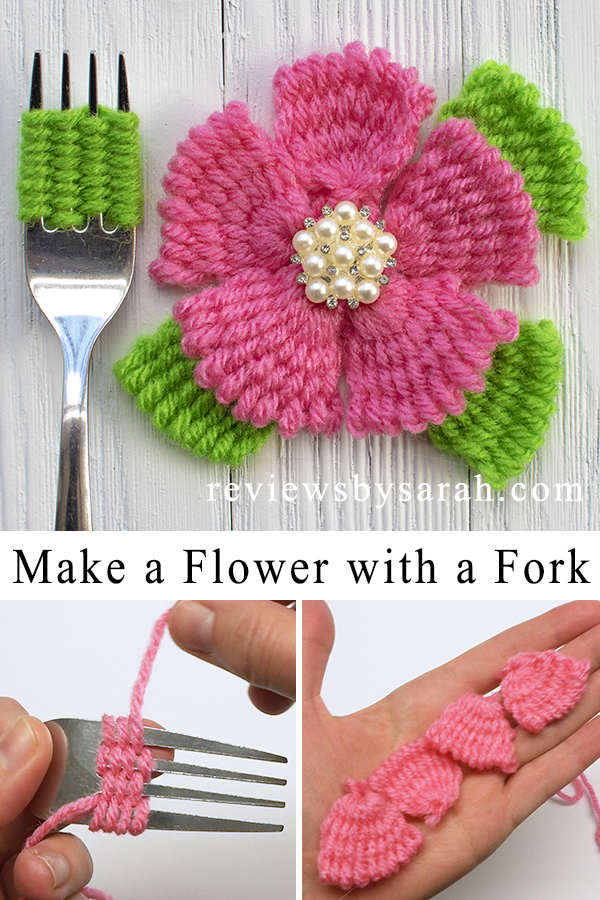
- Begin wrapping the yarn around the fork.
You’ll weave over and under the fork prongs. Each row will be done the opposite of the previous row. If the previous row was over the second prong, in the next row it will be under that prong. Finish when there are 10 loops on one end and 10 loops on the other end.
- Use the sewing needle.
You’ll switch the direction of the yarn for this. This time you’ll go under all of the loops on the first prong, then move to the next one. Continue until all loops have been worked. Tie and knot the ends together.
- Make 5 petals.
I think 5 petals looks nice on her flower. You can do 4 or 6 petals too.
- Finish the flower.
The center button or gem always adds a nice touch to the flower. Plus it hides any stray ends or knots.
Please note I may receive compensation from the links below.
Click the play button to watch the video below. And if you like this, be sure to subscribe to Sarah’s channel to get notified of new videos!
1 Trackback / Pingback
Comments are closed.