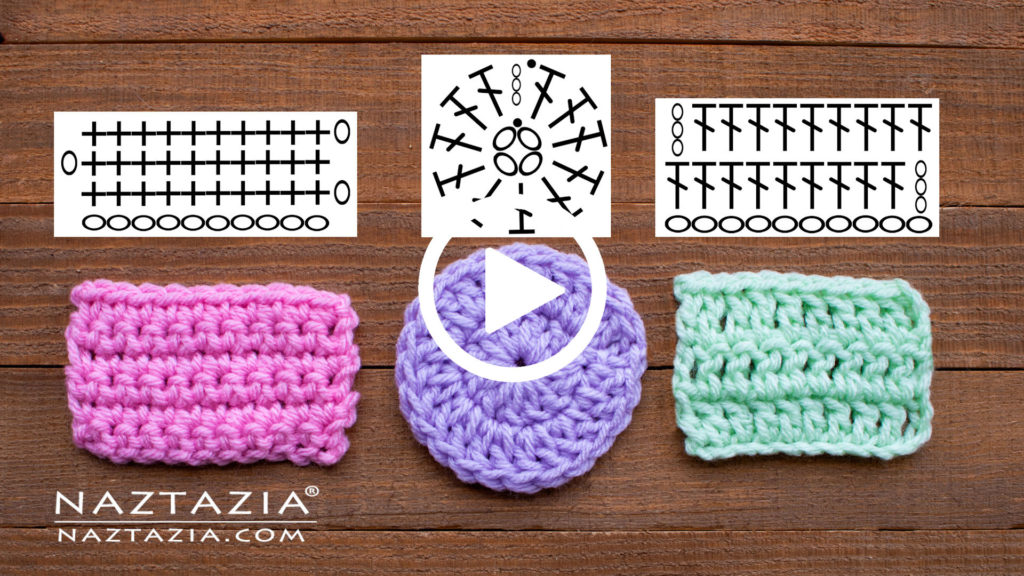
How to Read Crochet Charts and Crochet Symbols
Crochet charts and symbols are oftentimes found in crochet patterns. For some, these are easier to read than a crochet pattern.
Step 1: Find the Legend
The first step in reading a crochet chart is to find the legend. This will serve as your reference for the stitches. You will know what each symbol means. For example, the legend might have a + (plus sign) with the words single crochet next to it. That means, wherever you see a plus sign (+), you will place a single crochet in your work.
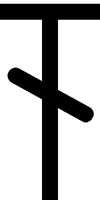
Here are some of the typical symbols you will find in crochet:


Step 2: Determine Rows versus Rounds
In crochet, we generally work in back and forth rows, to make a square or rectangular-shaped item. Rows are used in afghans, blankets, dishcloths, shawls, scarves, etc. Or we work in rounds, to make a circular item. These items are usually hats or amigurumi (crochet toys).
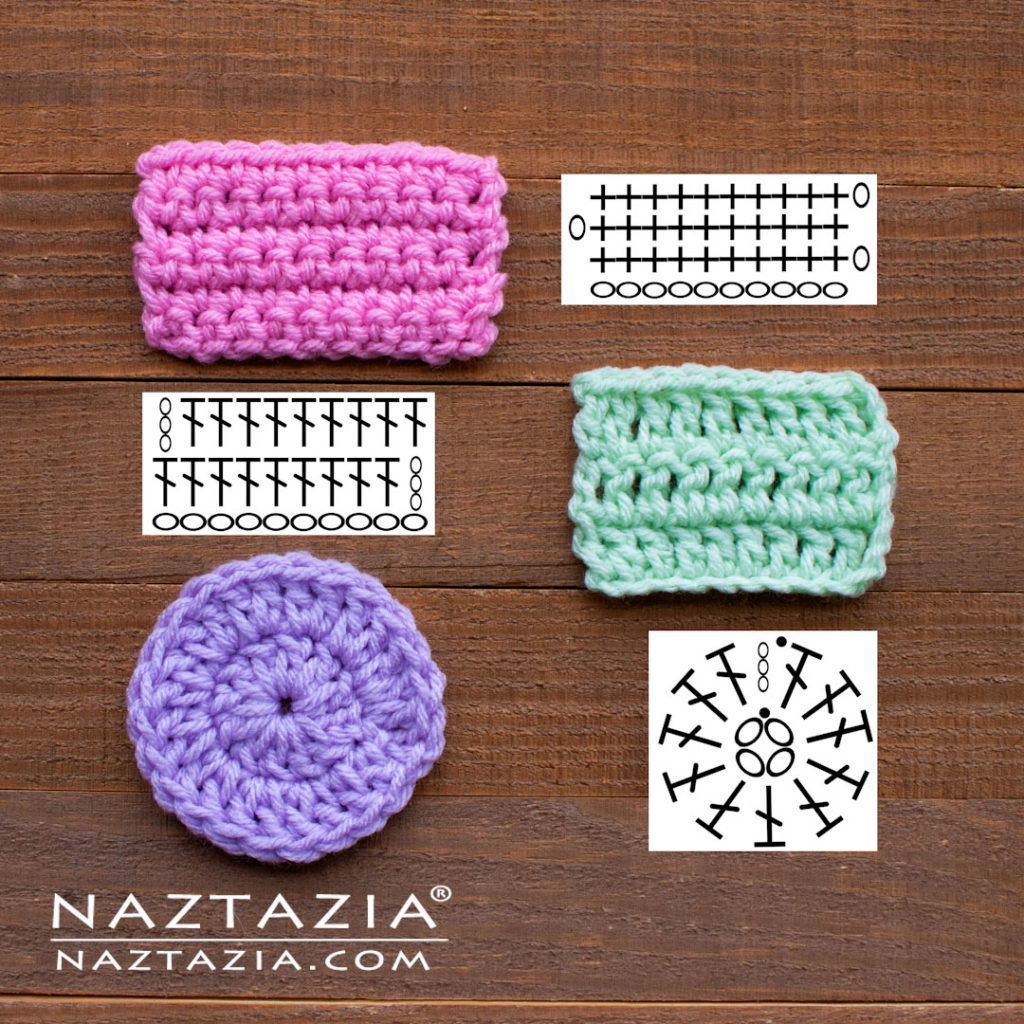
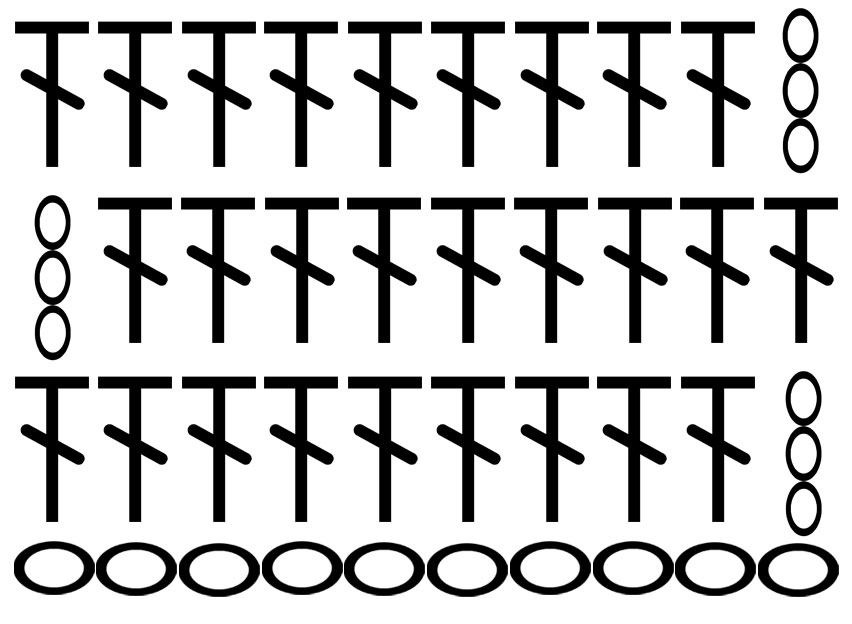
Here is what a typical row chart looks like:
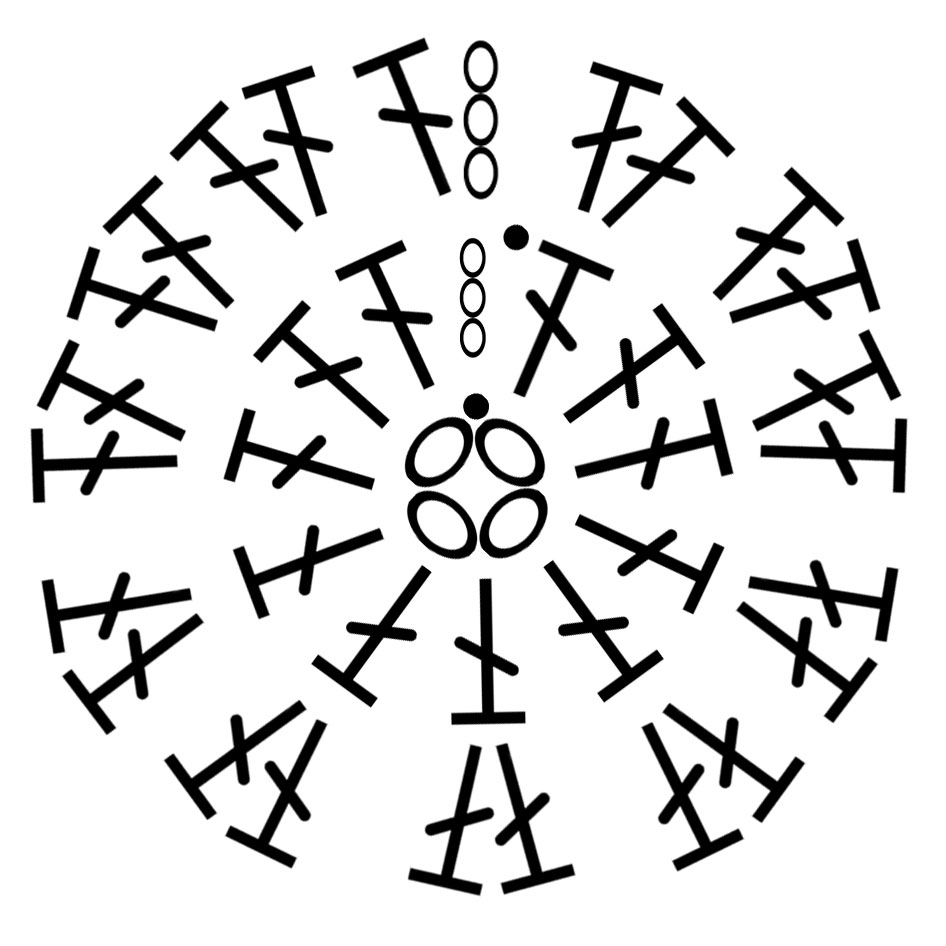
Here is what a typical round chart looks like:
Step 3: Figure Out Where to Start
With Rows, you’ll start usually at the very bottom of the chart. There usually is some sort of starting chain. Once you count how many chains you’ll start with, Row 1 then follows above the chain. Above that you’ll find Row 2, then Row 3, etc.
With Rounds, you’ll start usually in the very center of the chart. There is usually some sort of starting chain or magic ring. Generally, speaking, you’ll either chain 1, 2, 3, 4, 5, 6, or something like that. From there, Round 1 begins in the next layer outwards. Then Round 2, Round 3, and so forth continue outwards.
Step 4: Analyze and Analyze Some More
You’ll need to look at and count every stitch. Take note of where it is placed. Is it above a chain, or a stitch? How many chains do you make before turning the row? Sometimes it helps to print out the chart at like 300% magnification. Or if you are only, really zoom in for every row or round to see all of the stitches.
And that’s pretty much it! With this information, you can follow any crochet symbol chart out there. I hope this has helped you! – Donna.