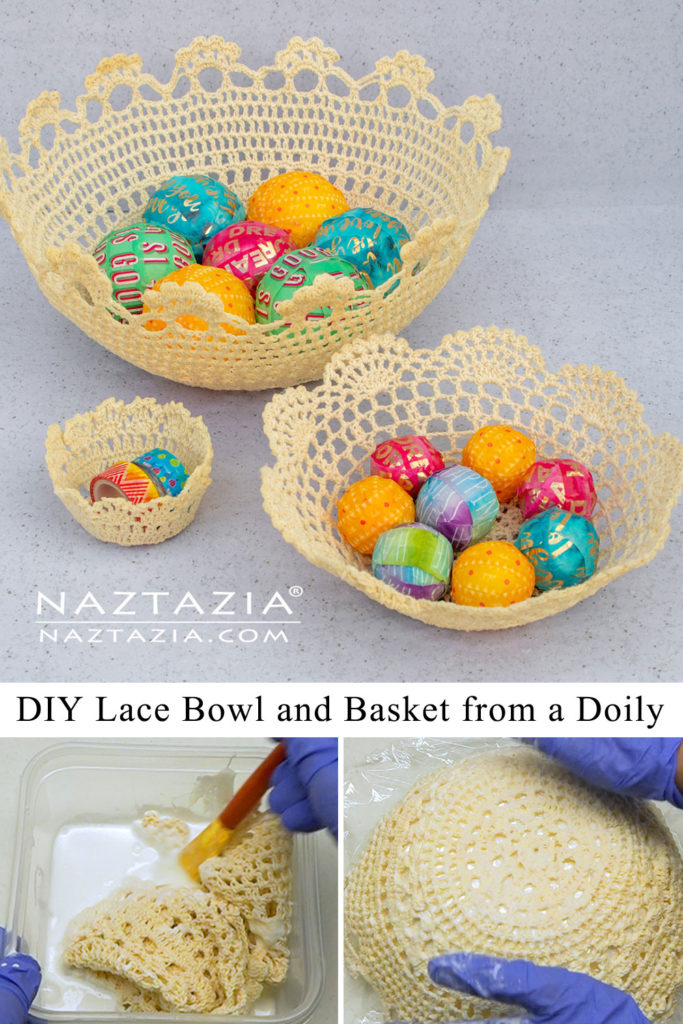
How to Make a Lace Bowl or Basket from a Doily DIY Project
Learn how to make a lace bowl and basket from a doily in this DIY tutorial. It is a great recycling or upcycling project! You can use this step-by-step for an Earth Day project, a summer project, or any day of the year.
Lace Bowl and Basket Information
Hi I’m Donna Wolfe from Naztazia. In this pattern and tutorial video, I’ll show you how to take a lace doily and convert it into a bowl or basket. You can use any type of thread or yarn-based doily. You can crochet or knit or tat one. Or you can find a doily at an estate sale, a yard sale, or flea market. Some of the craft stores even carry them as well, usually in the yarn and thread section. Just look for crochet doily, or knitted doily, or tatted doily. As always, you can find some nice ones on Amazon…
Please note I may receive compensation from the links below.
Once you find a doily you like, you’ll need either a fabric stiffener product, or water and glue. I tend to favor the water and glue mixture. It’s what people have used for decades to stiffen their crochet, knitted, or tatted work.
There’s always a big debate as to whether you should use Elmer’s White School Glue, or Elmer’s Glue-All. The glue-all product is a PVA type of glue. It is non-toxic, just like the school glue. However the glue-all, in my experience, tends to hold better and is a bit more water resistant once dried.
How to Make
As you can see in the tutorial video, I combine 3 ounces of glue-all with 2 ounces of water. You can still add another ounce of water if you wish to get the classic 1 to 1 ratio of glue and water. I tend to leave out a bit of water to make the glue more prominent. More glue holds the item better in the end. Finally, place the doily in the mixture and let it absorb all the glue and water that it can.
After preparing the bowl with plastic wrap, place the saturated doily on the object and let it dry for 24 hours. This drying time can be affected the humidity level in your house or environment. After the doily is completely dry, carefully pry it away from the bowl and plastic wrap. It will definitely come off the wrap, but you might need a bit of patience for it to do so.
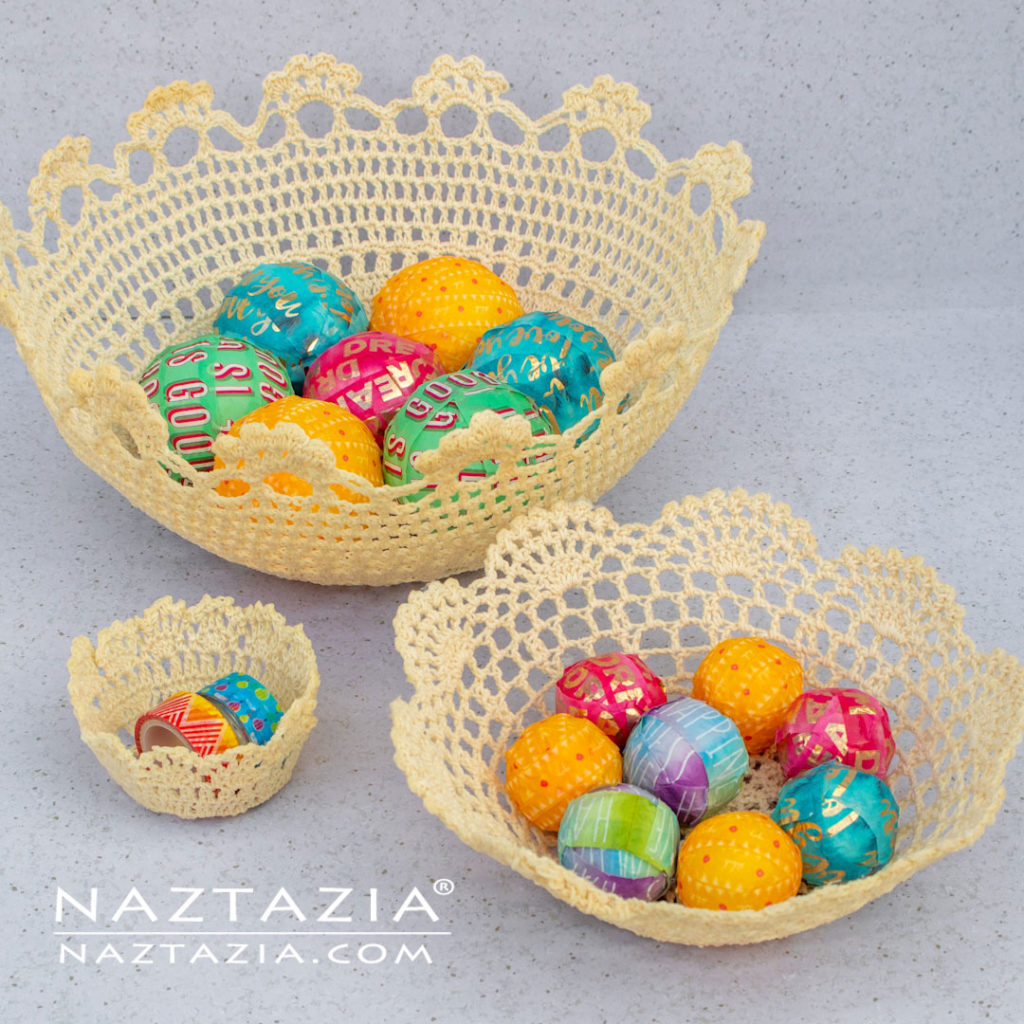
And that’s it! You now have a nice doily bowl to place around the house. Fill it with candy or keys or small items that you use on a daily basis.
Be sure to pin the following image to your Pinterest board! Then continue reading below.