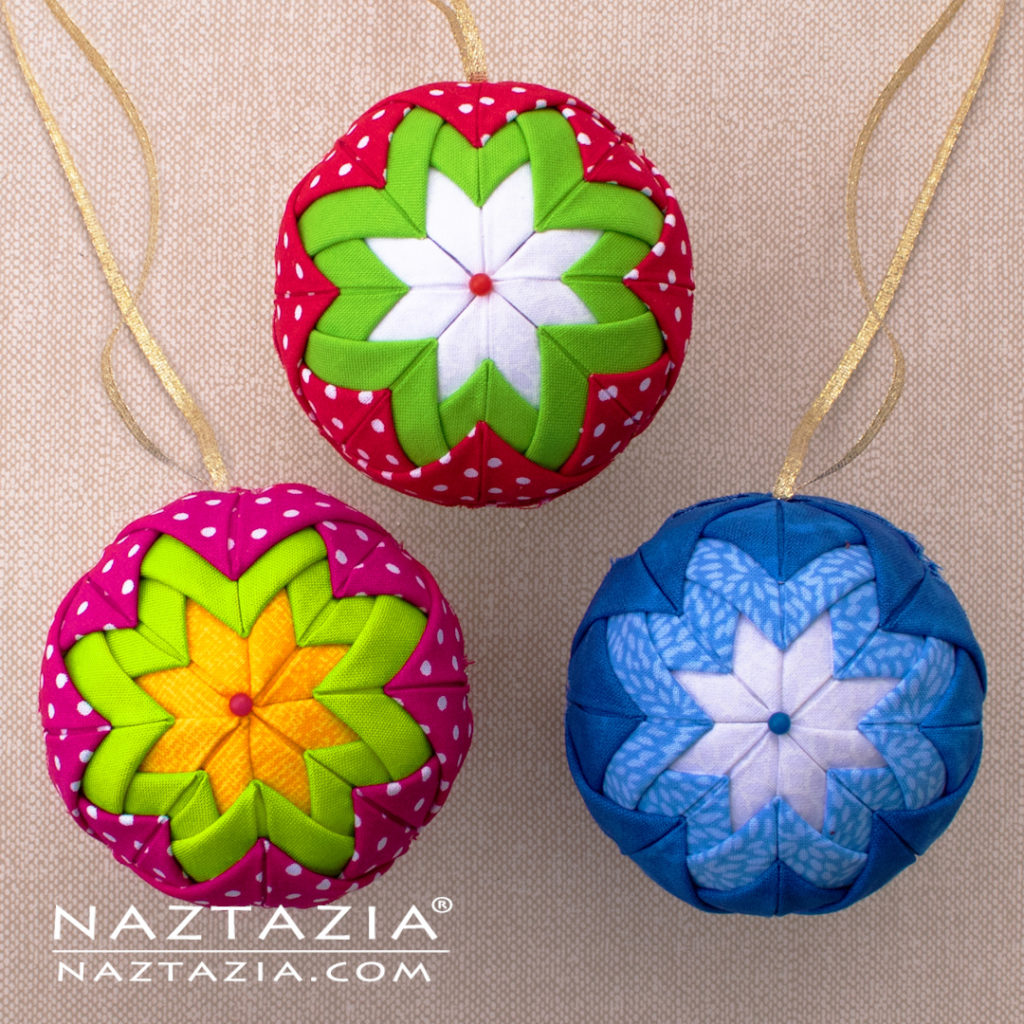
How to Make a No Sew Quilted Ornament
Here are easy no sew quilted ornaments to make with leftover fabric. It makes a nice decoration for Christmas or any time of the year!
Below are some instructions to help you along with your fabric ornament. Be sure to check out the videos for step-by-step info!
Supplies
- One 3-inch Styrofoam ball (sometimes they are about 2.8 inches)
- Fabric. We will make forty 2.5″ x 2.5″ cutouts. 8 in white, 16 in red, and 16 in green. Therefore choose three fat quarters OR three jelly roll strips (2.5″ x 42″) in a white, red, and green.
- Approximately 175 pins.
- Decorative ribbon to go around the ornament.
- String or ribbon to hang ornament on tree.
- Optional hot glue. Optional sewing needle.
Please note I may receive compensation from the links below.
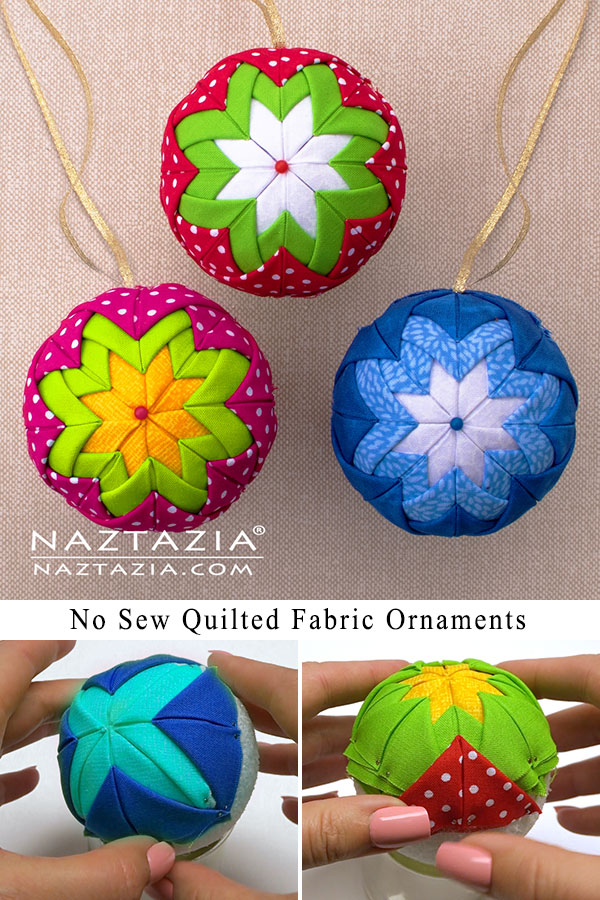
Be sure to pin the following image to your Pinterest board! Then continue reading below.
Here’s a nice image (or two) to pin on your Pinterest boards.
Instructions
- Cut fabric. Each square will be 2.5″ x 2.5″. 8 squares in white, 16 squares in green, and 16 squares in red.
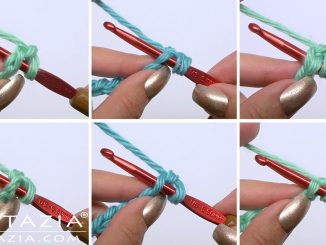
- Working from the center of the ornament first, fold a white square to find the center of it. Place a pin through the center, with the WRONG side of the fabric facing up towards you. Fold the fabric in half downwards. Then, fold the right side down, along the center line. Finally, fold the left side downwards, along the center line. These two folds will form a triangle. Place a pin along the two downward folds, as well as the two longer edges of the triangle.
- Make 3 more white squares as above, placing one above, one to the right, and one to the left of the first one.
- Working with the green fabric, place the first pin of all squares 1/2″ down from the center of the ornament. Place a green square in the middle of every white triangle. Then place the remaining green squares in between each of the white triangles.
- Working with the red fabric, place the first pin of all squares 1/2″ down from the start of the green fabric. Place a red square in between every green triangle as well as in the middle of every green triangle.
- Repeat process for the other side.
- Once both sides are completed, either hot glue or pin a decorative ribbon around the entire ornament to cover the edges of the red fabric and pins.
- Sew or glue on the string or ribbon to hang ornament on tree.